
Ayuda al usuario

Manual - Guía de compra

Resuelve paso a paso las dudas más habituales del proceso de compra, desde la selección del pase hasta la confirmación final.

Contenido

1. Website interface

Every page has the same two navigation areas: the header at the top and the footer at the bottom.

Actual large-screen header showing search, city, cinema listings and language controls

At the top, the logo takes you to the home page. The other controls help you find films and cinemas:

  • Search: enter a film, cinema or director. Films and directors are filtered by the selected city. Cinemas are shown without that filter. Select a result to open the film page or cinema listings.
  • City: open the selector and choose a city. Film listings update for that area.
  • Listings · Cinemas: open the list of available cinemas. Select one to go straight to its showtimes.
  • Language: switch between Spanish, Catalan and English. The site returns to the same page in your chosen language.

The footer appears at the bottom of every page. Scroll down to access its links.
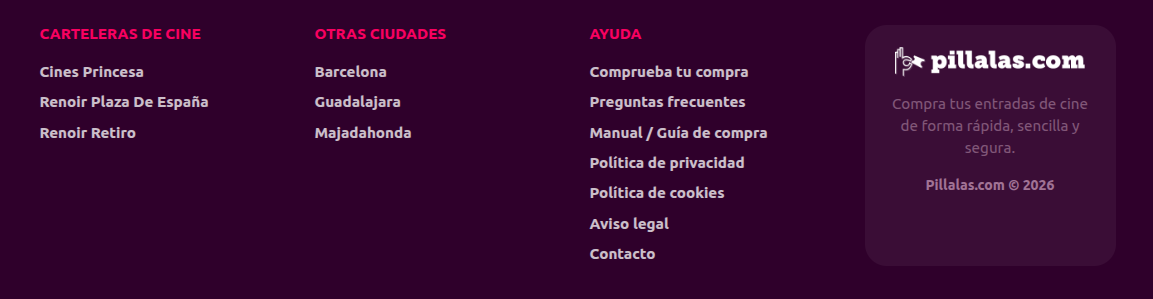
Actual large-screen footer with cinema listings, other cities, help links and Pillalas branding

Its columns group cinema listings, links to other cities and the Help section, which includes purchase lookup, frequently asked questions, this guide, policies, legal notice and contact details.

Actual mobile header showing the city shortcut, search icon and menu

At the top, the logo takes you to the home page. The city shortcut appears in abbreviated form beside it; tap it to choose another city. On narrow phones, tap the magnifying glass to reveal search. The three-line button opens the side menu.

  • Search: enter a film, cinema or director. Film and director suggestions depend on the selected city. Cinemas are not filtered by it. Choose a suggestion to open its details.
  • Your cinema: in the menu, open “Choose your cinema” and select one to view its showtimes.
  • Website language: open this menu option and choose Spanish, Catalan or English; you will stay on the current page.
  • Help: the menu links to purchase lookup, frequently asked questions and contact details.

The footer is also at the bottom of every page. Scroll down to find its links.
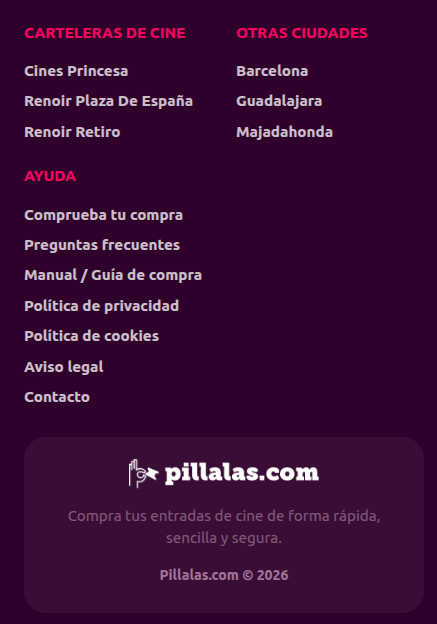
Actual mobile footer with cinema listings, other cities and help links

The footer groups cinema listings, other cities and help links for purchase lookup, frequently asked questions, the guide, policies, the legal notice and contact.
2. Choose the screening you want

A screening is one specific showing: a film, cinema, date and time. You can find it in three ways. Before choosing, check the active city in the header: the home page and each film page show screenings for that city. If you have not chosen a city yet, select one first.

  • From a cinema’s listings. If you are already on the cinema page, choose a day, find the film and version, then select the time you want. If you are not on that cinema’s listings yet:

    Open “Listings · Cinemas” in the header, select a cinema, then choose the screening day and time.

    Open the ☰ menu, tap “Choose your cinema” and select a cinema. On its listings page, choose a day and tap a screening time.

  • From the home page. Select the poster or title of the film you want. Its page shows available screenings in the active city, grouped by day and cinema. Choose a day, find your preferred cinema and version, then select the time.
  • From search.

    Enter a film title, cinema name or director in the header search and select a result. A film opens its page with screenings for the active city; a cinema opens its listings.

    Tap the magnifying glass if search is collapsed, enter a film title, cinema name or director, and select a result. A film opens its page with screenings for the active city; a cinema opens its listings.

Choose a time available for online booking. When you select a time, you will go to the seat selection page.

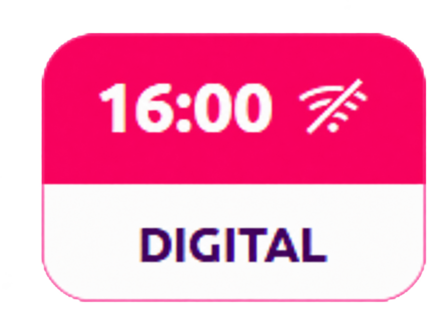
Please note that online booking may be unavailable for some screenings. The cinema controls availability, not Pillalas.com. For more information, contact the cinema directly. The cinema may enable online booking later.

16:00 screening unavailable for online booking

Screening unavailable for online booking

3. Seating plan

After you choose a screening time, a summary shows the film, cinema, auditorium, date and time. Check that it is the screening you want. The page changes depending on whether the screening has reserved or unreserved seating.

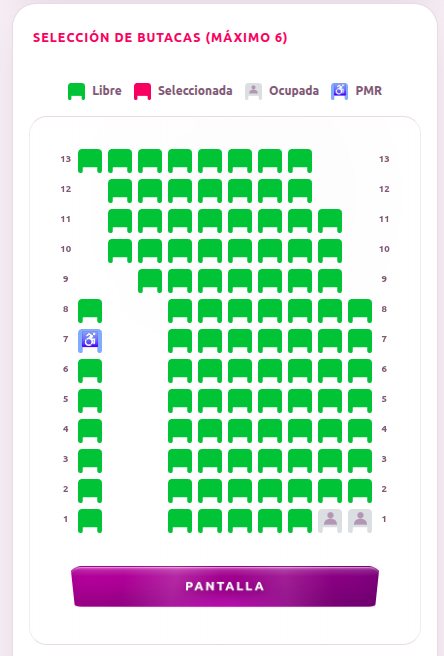
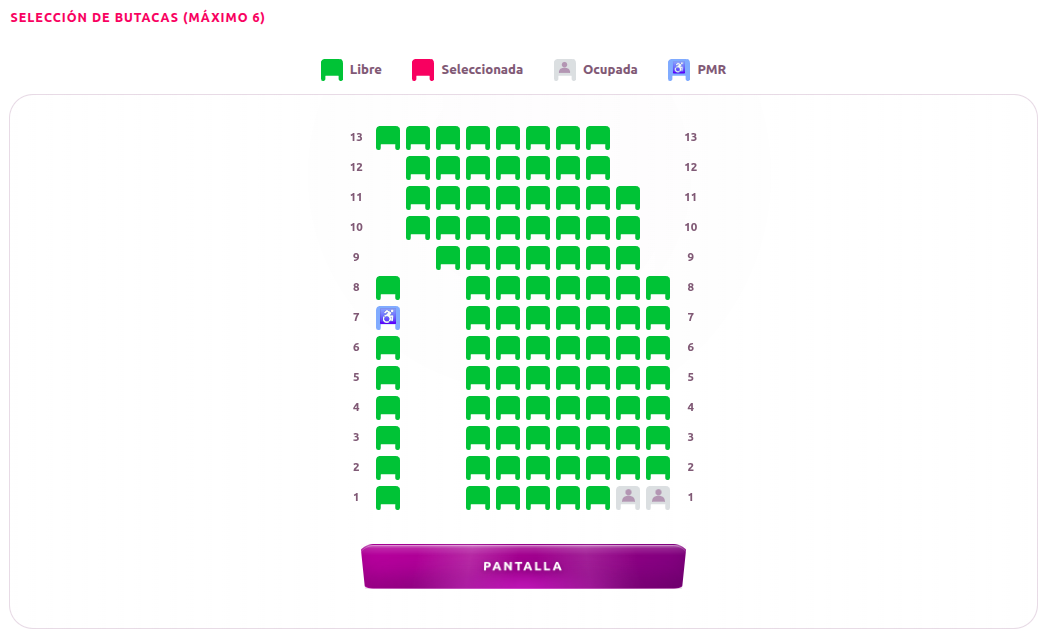
Reserved seating: the seating plan shows the layout of the auditorium. Use its legend to distinguish available, selected and occupied seats. Select one available seat for each ticket you need; occupied, reserved or unavailable seats cannot be selected. The summary lists your chosen rows and seats. Stay within the limit shown on screen.

Click the available seats on the plan. If the whole auditorium does not fit in the visible area, scroll across the plan to find the remaining seats.

Seat selection for a screening with reserved seating on desktop
Seat selection for a screening with reserved seating on mobile

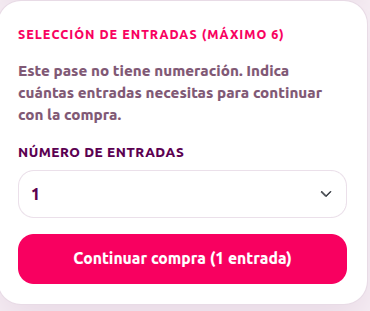
Unreserved seating: there is no seating plan; choose how many tickets you need from the selector. This option is uncommon.

Ticket quantity selector for a screening with unreserved seating on desktop
Ticket quantity selector for a screening with unreserved seating on mobile

For 3D films, you can add the glasses you need to your order. If you do not have compatible 3D glasses, you must add them; if you already have a pair, you can bring them without buying any.

When your selection is ready, select “Continue purchase” to move on to ticket price selection.

4. Choose a ticket price

If more than one price is available for the screening, this screen lets you choose and assign a price to each ticket using . You can combine different prices when the screening rules allow it. If only one price is available and it has no requirements, it is assigned automatically and you go straight to the next step without seeing this screen.

Read the conditions next to each price. If an option requires a code or proof of eligibility, you cannot add that price while these controls are disabled . Enter the required information in the relevant section and wait for the system to validate it. Check any usage limits shown on screen.

Some prices have eligibility requirements that you will need to prove at the cinema. Select one only if you meet the requirement and can show proof of it. If you cannot provide proof when you arrive, you will not be allowed into the auditorium.

Once all prices have been assigned, select “Continue purchase” to review the total.

5. Review your purchase and enter your email

Check that the film, cinema, auditorium, date and time are correct, as well as your selected seats or ticket quantity. The “Purchase breakdown” section lists the tickets, any added products and the total. The view breakdown link opens a detailed list of the included charges.

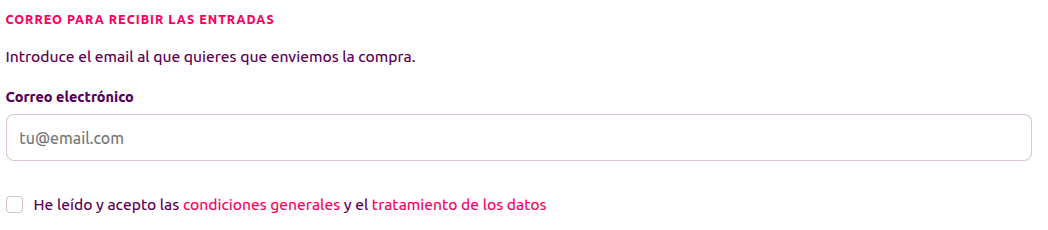
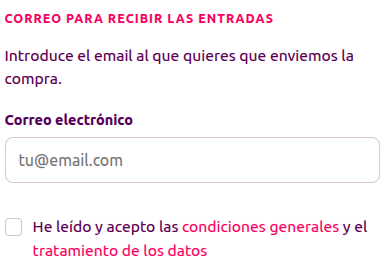
Enter an email address you check regularly. Check the address carefully so you receive your tickets.

We recommend a personal address from a mainstream email provider (gmail.com, outlook.com, yahoo.com, etc.). Some corporate email addresses may not receive our messages because of known delivery issues. Company firewalls or filters may also block them.

Tick the box to confirm that you have read and accepted the terms and the processing of your data. We will use this address only to send the confirmation for this purchase and your tickets.

Pillalas.com will never use the email address provided for this purchase for marketing purposes.
Form for entering an email address and accepting the terms, desktop view
Form for entering an email address and accepting the terms, mobile view

Once you have entered your email and accepted the terms and data processing notice, select “Continue to pay” to proceed with your purchase.

6. Payment and purchase confirmation

If the amount due is greater than €0: when you select “Continue to pay”, we will redirect you to Redsys, a widely used payment gateway in Spain that works with many banks and financial institutions. You will enter your details directly on the Redsys payment page.

Pillalas.com does not receive or store your card details.

Depending on your bank and card, you may need to complete an additional verification, such as approving the transaction in your banking app or entering a code. Once the payment is complete, Redsys will automatically return you to Pillalas to show your purchase summary.

If the amount due is €0: no payment will be taken and you will not go through Redsys. Confirming the sale and preparing the tickets may take a few seconds. Keep the page open. You will see the purchase summary once it is complete.

7. Get your tickets

Once the purchase is confirmed, the purchase summary will be shown with the QR code for your tickets (which will also include any 3D glasses you added to your order) and the venue access instructions. Check them to see how to present your tickets and enter the screening room. You will also receive an email with your tickets and nearly the same information. If you cannot find it in your inbox, check your spam or junk folder.

To make it easier to enter the screening room, you can save your tickets to Google Wallet or Apple Wallet from the purchase summary or the email:

Add to Google WalletAdd to Apple Wallet

For 3D screenings, any glasses you added to your order will also appear in the same QR code as your tickets.

8. Find your purchase later

To find your tickets again, go to Check your purchase. Enter the same email address you used for the purchase and select the cinema where you made it. We will email you a link to any purchases available to view.

If you need help, read the frequently asked questions or contact us. Keep your booking reference so we can identify the purchase more easily.